

Getting Started
 Obtaining Access Token
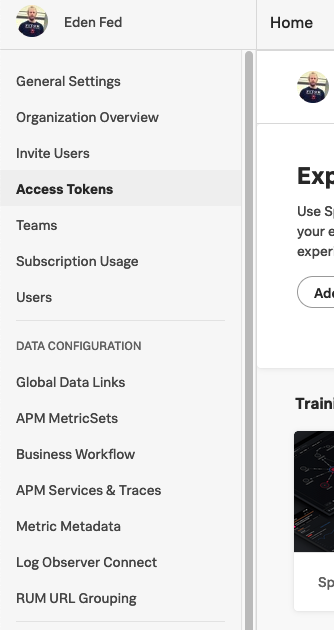
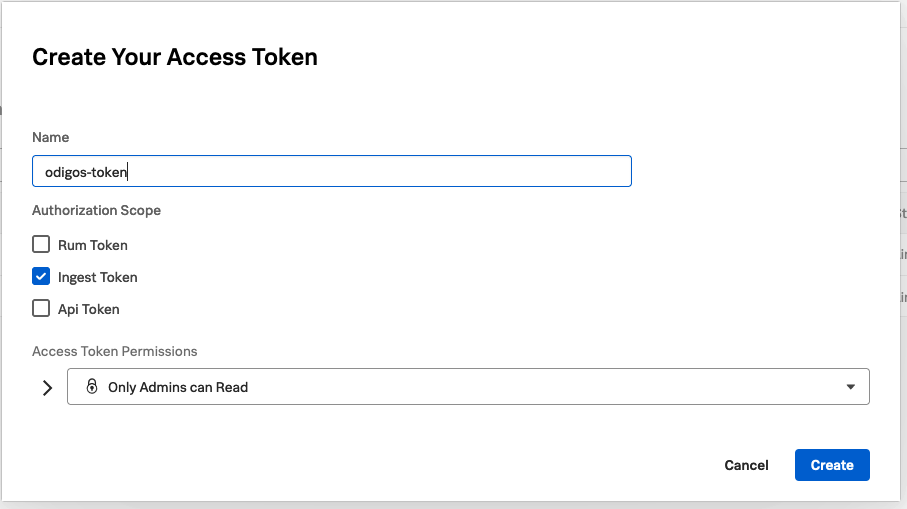
Go to Settings then Access Tokens and click Create New Token
Configuring Destination Fields
Supported Signals:
Supported Signals:
✅ Traces
❌ Metrics
❌ Logs
❌ Profiles
- SPLUNK_ACCESS_TOKEN
string: Access Token.- This field is required
- SPLUNK_REALM
string: Realm. The Splunk realm in use. This is the second part of the URL you use to access Splunk/SignalFX. For example, if you access Splunk athttps://app.us1.signalfx.com, then the realm isus1.- This field is required
This legacy destination now sends traces using OTLP/HTTP because the SAPM exporter was removed upstream.
Existing
splunk destinations retain their realm and access token. For new destinations, use Splunk (OTLP).Adding Destination to Odigos
There are two primary methods for configuring destinations in Odigos:Using the UI
1
Use the Odigos CLI to access the UI
2
Click on
Add Destination, select Splunk (Legacy) (Deprecated) and follow the on-screen instructionsUsing Kubernetes manifests
1
Save the YAML below to a file (e.g.
splunk.yaml)2
Apply the YAML using
kubectl