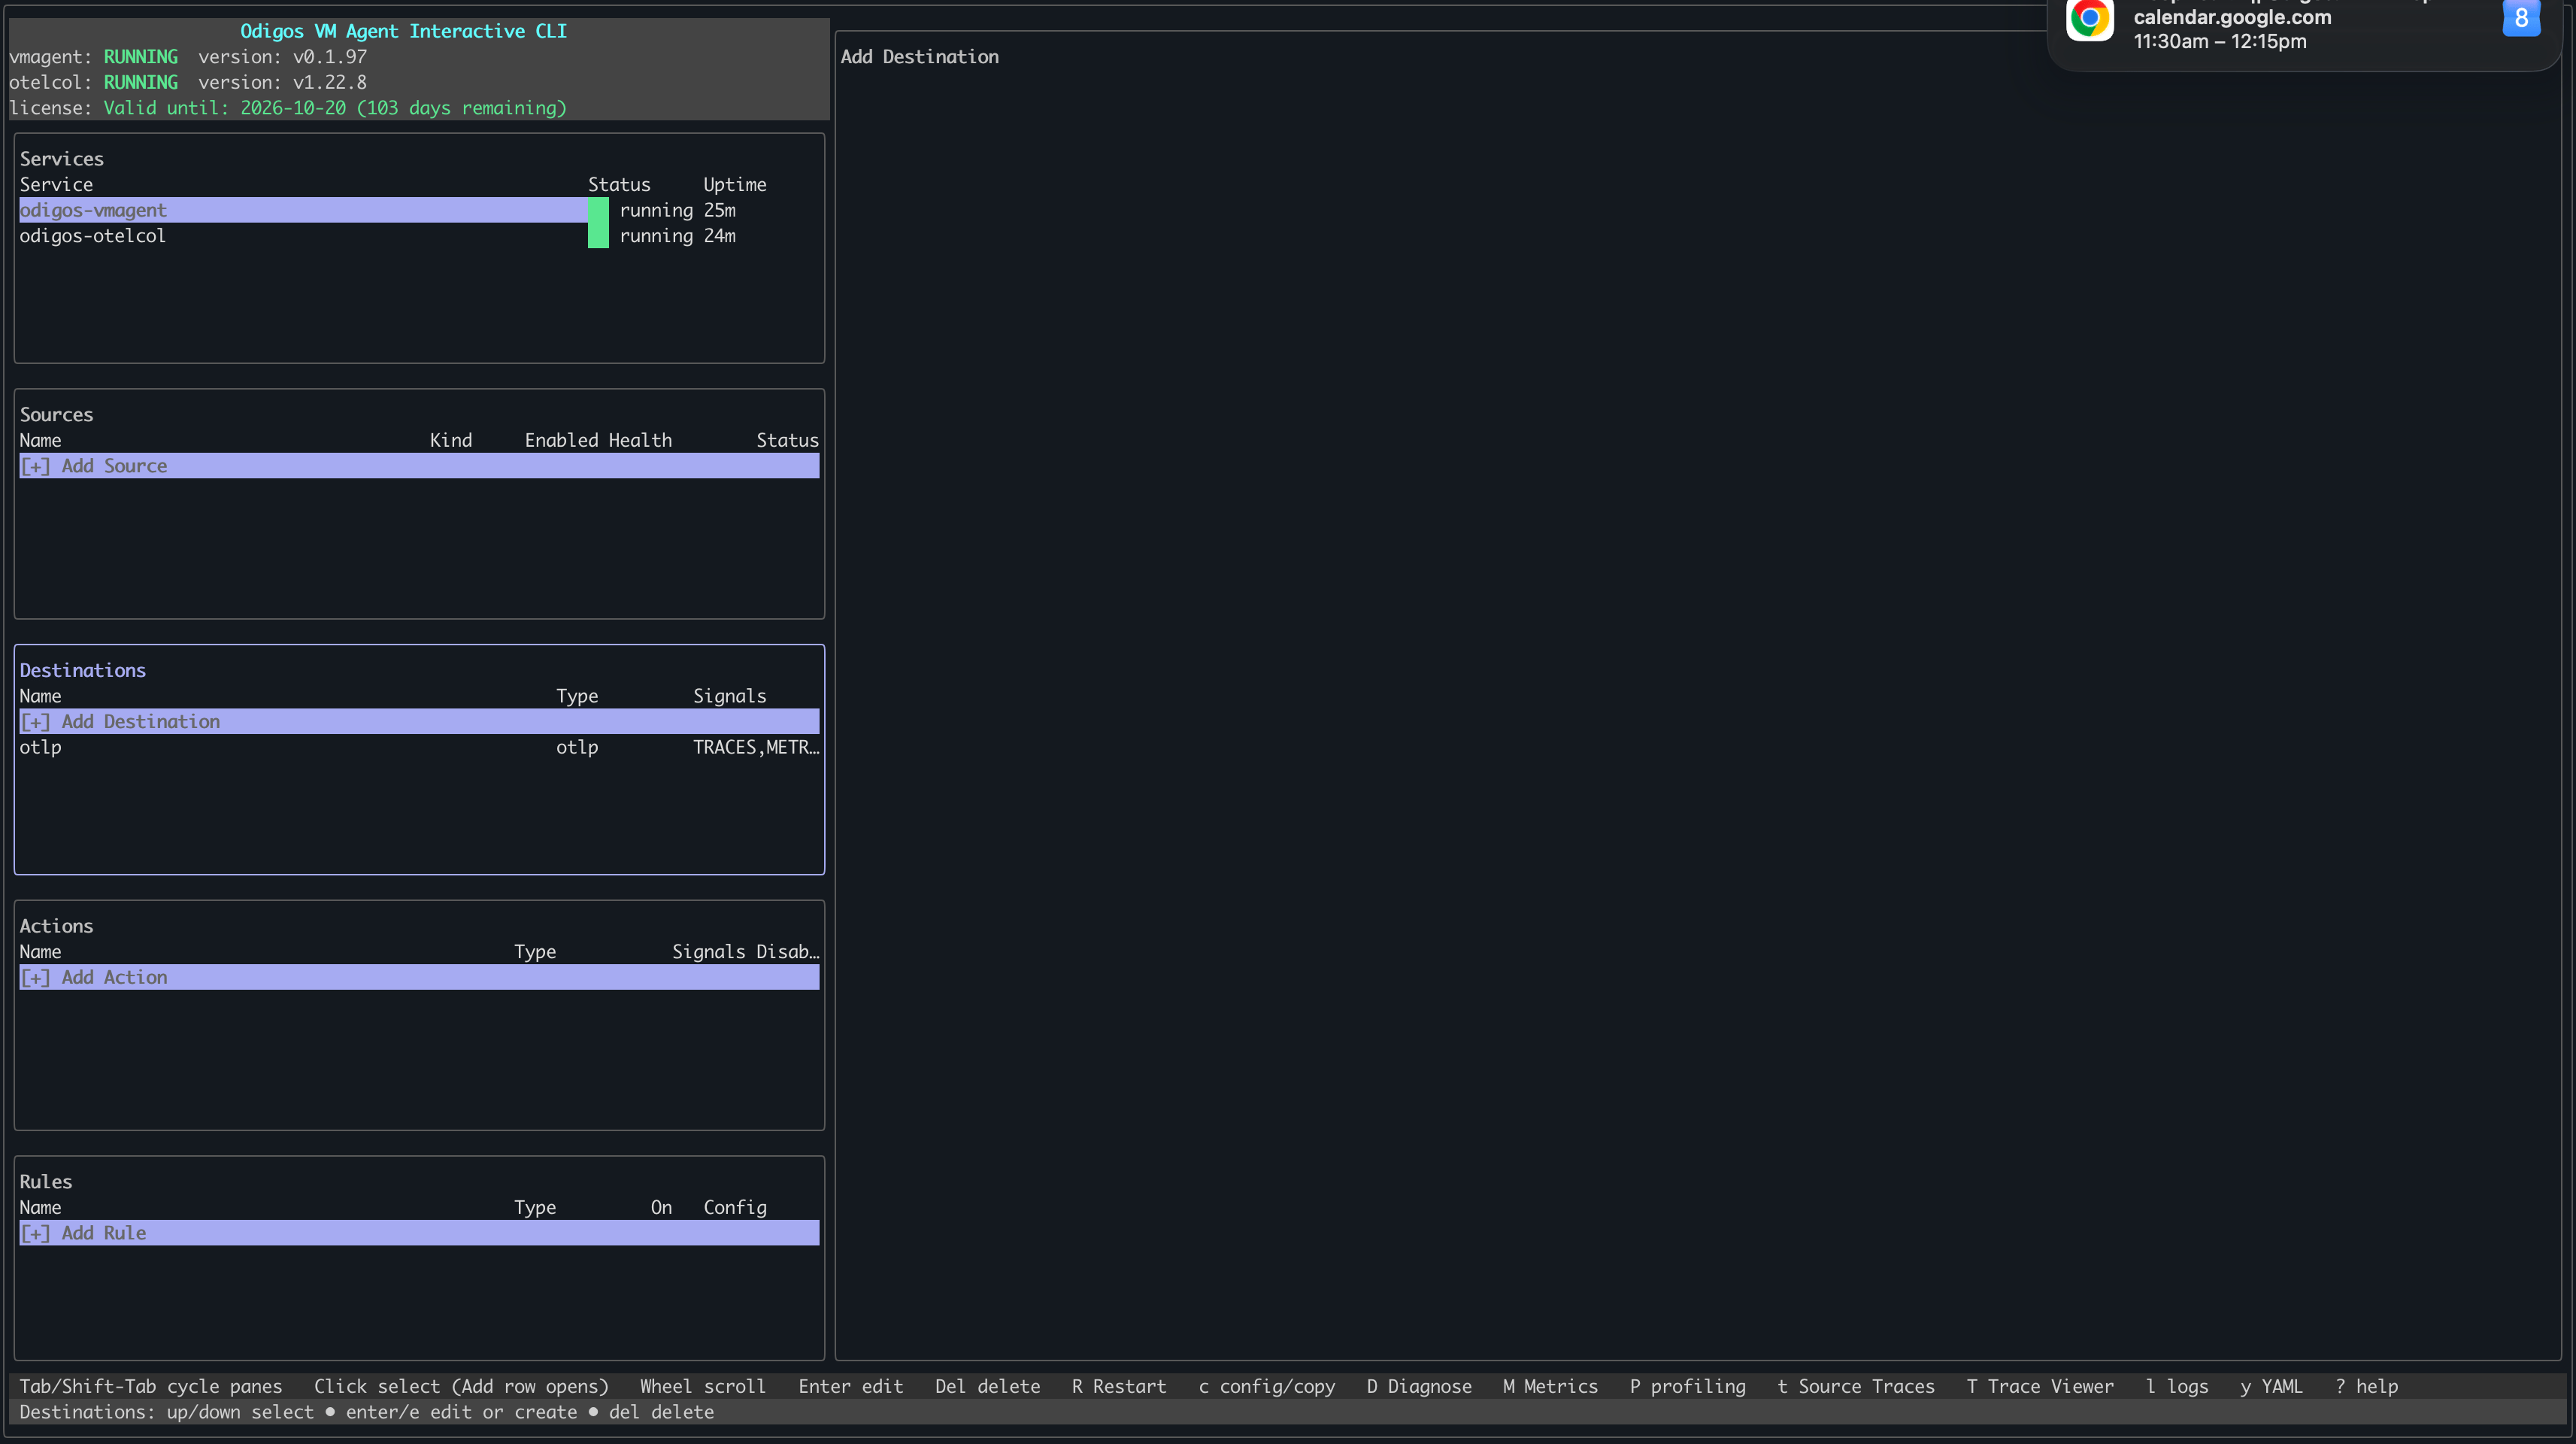
Add destinations to the Odigos VM Agent so telemetry can be sent to your backends.
Enable the signals you want to export on each destination (TRACES, LOGS, PROFILES). The agent turns on collection for those signals automatically—for example, configuring LOGS starts log collection for instrumented sources.There are two ways to add destinations to the Odigos VM Agent: use odictl or use YAML files.
odictl
YAML
1
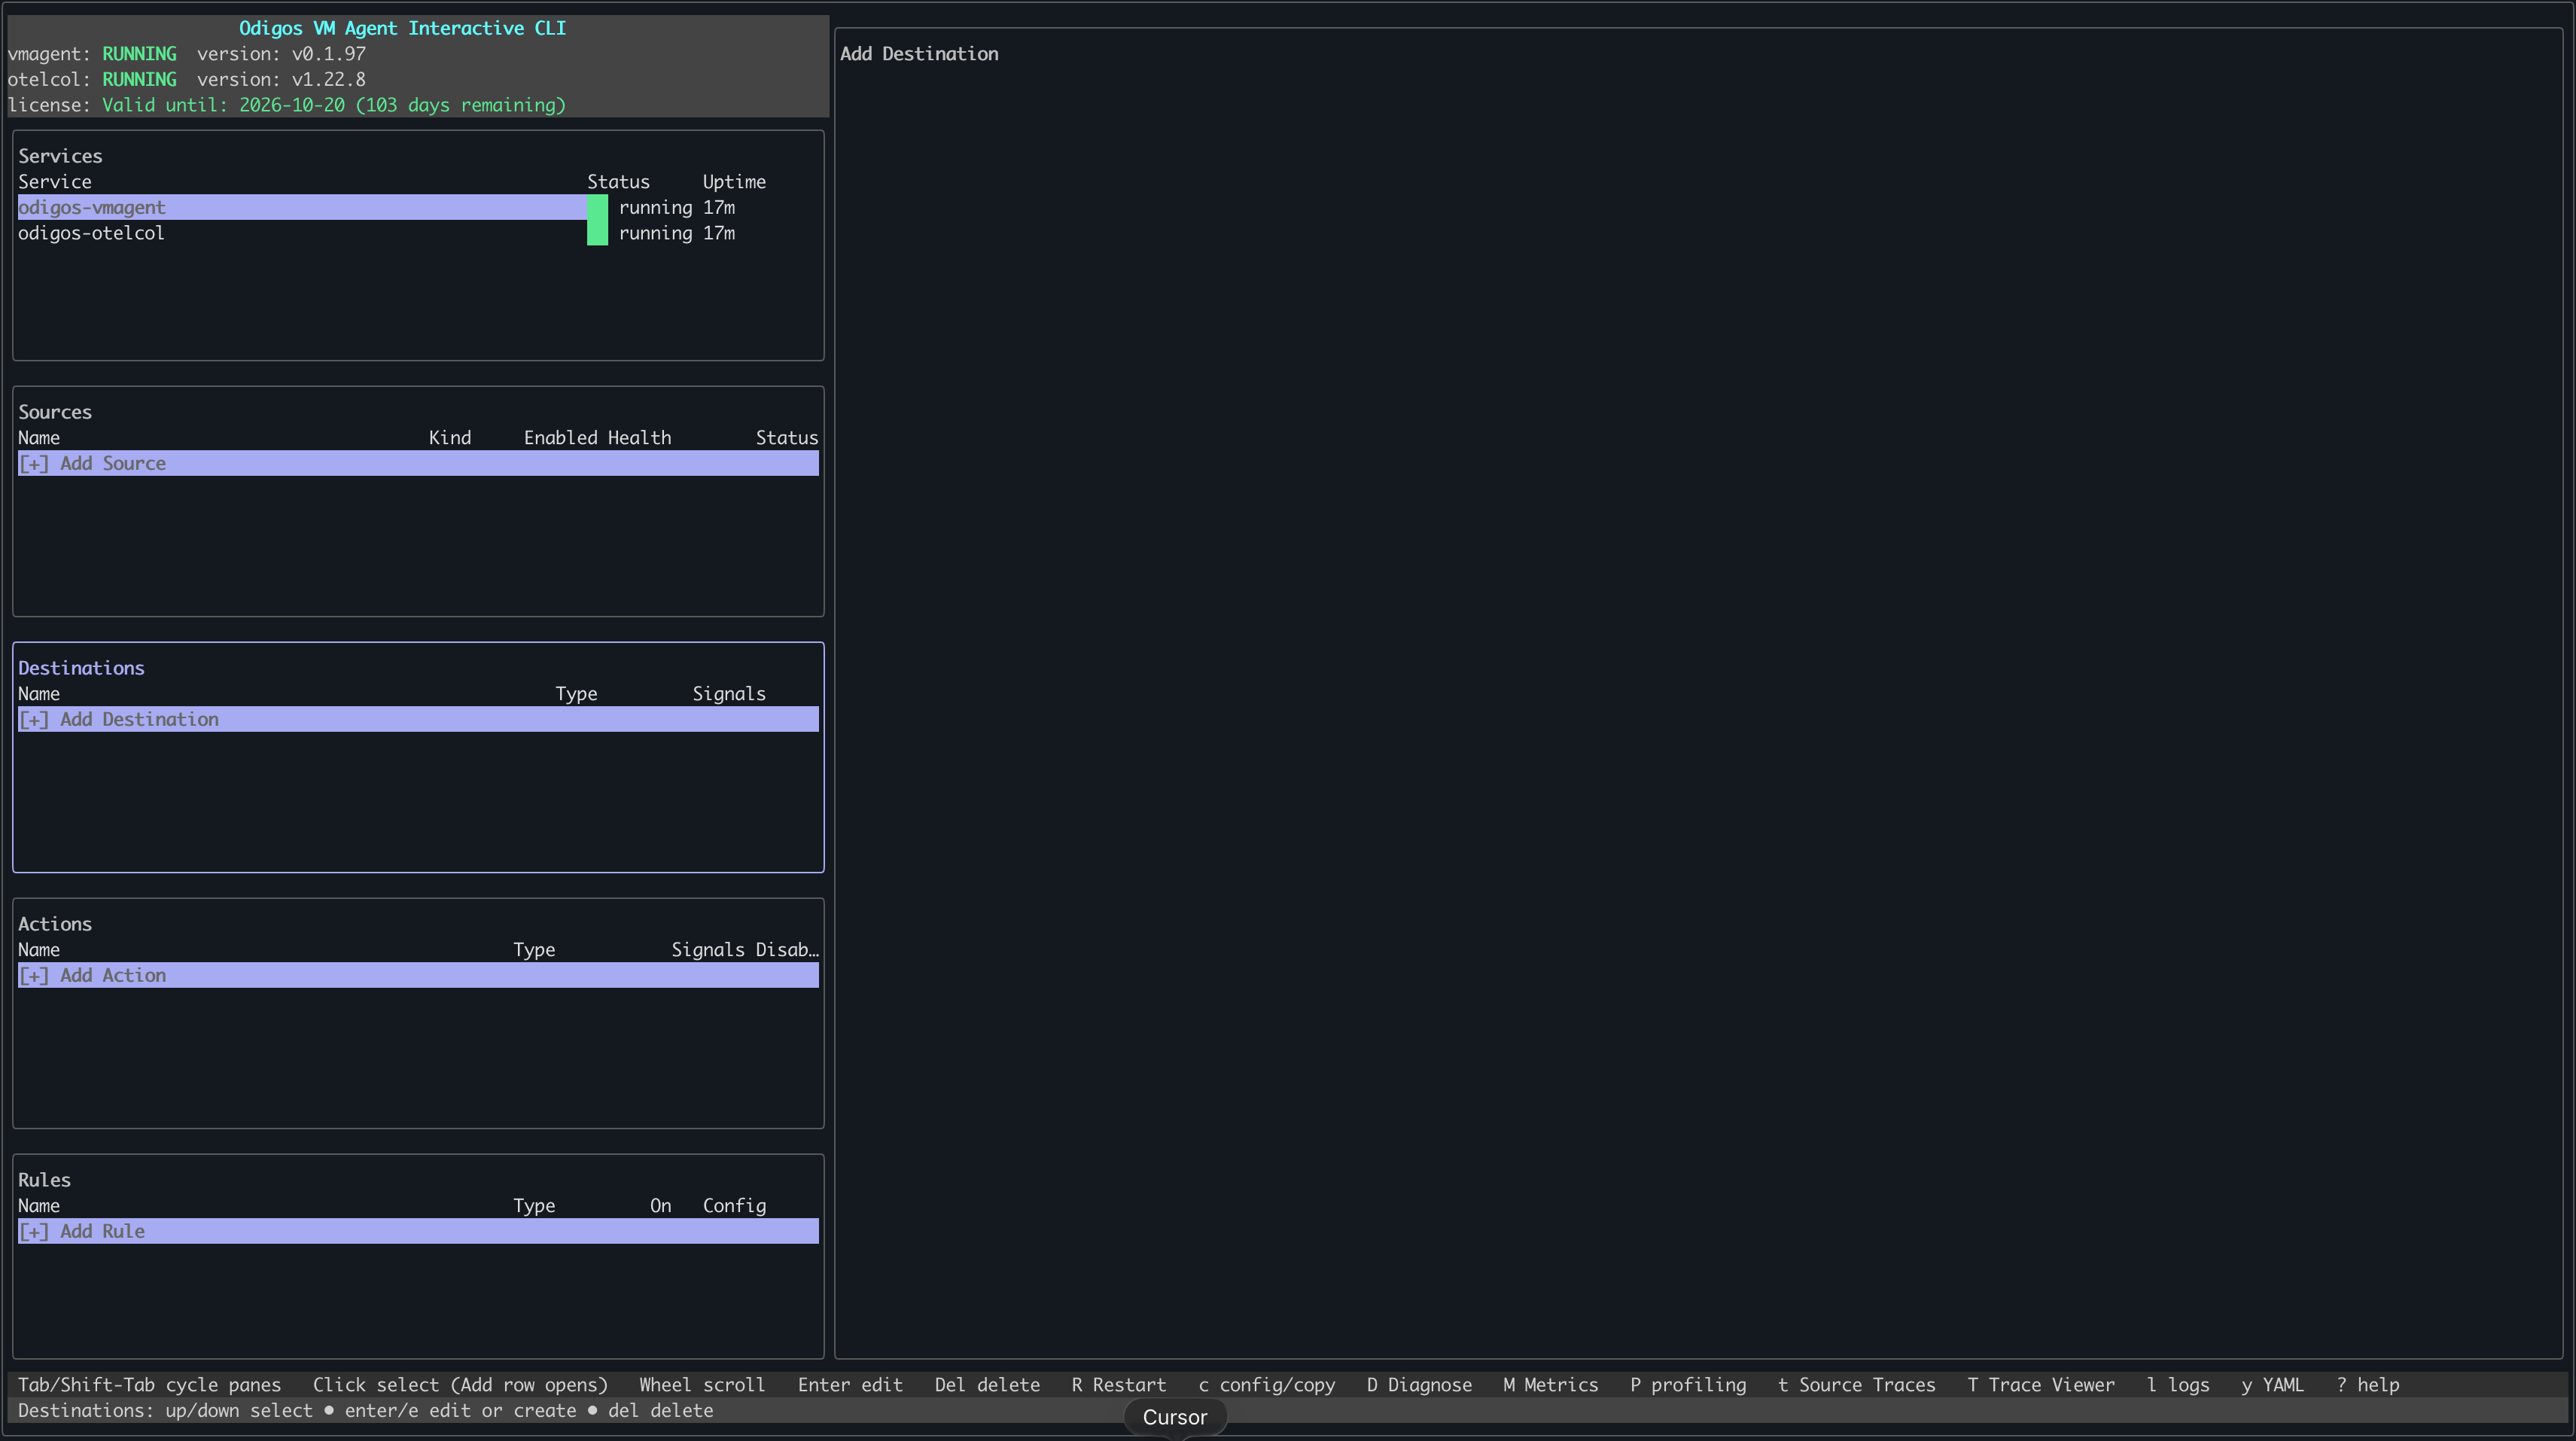
Launch odictl
odictl
2
Select the destination menu
Use Tab to focus on the Destinations pane or press d, then press Enter or click + Add Destination with your mouse.
3
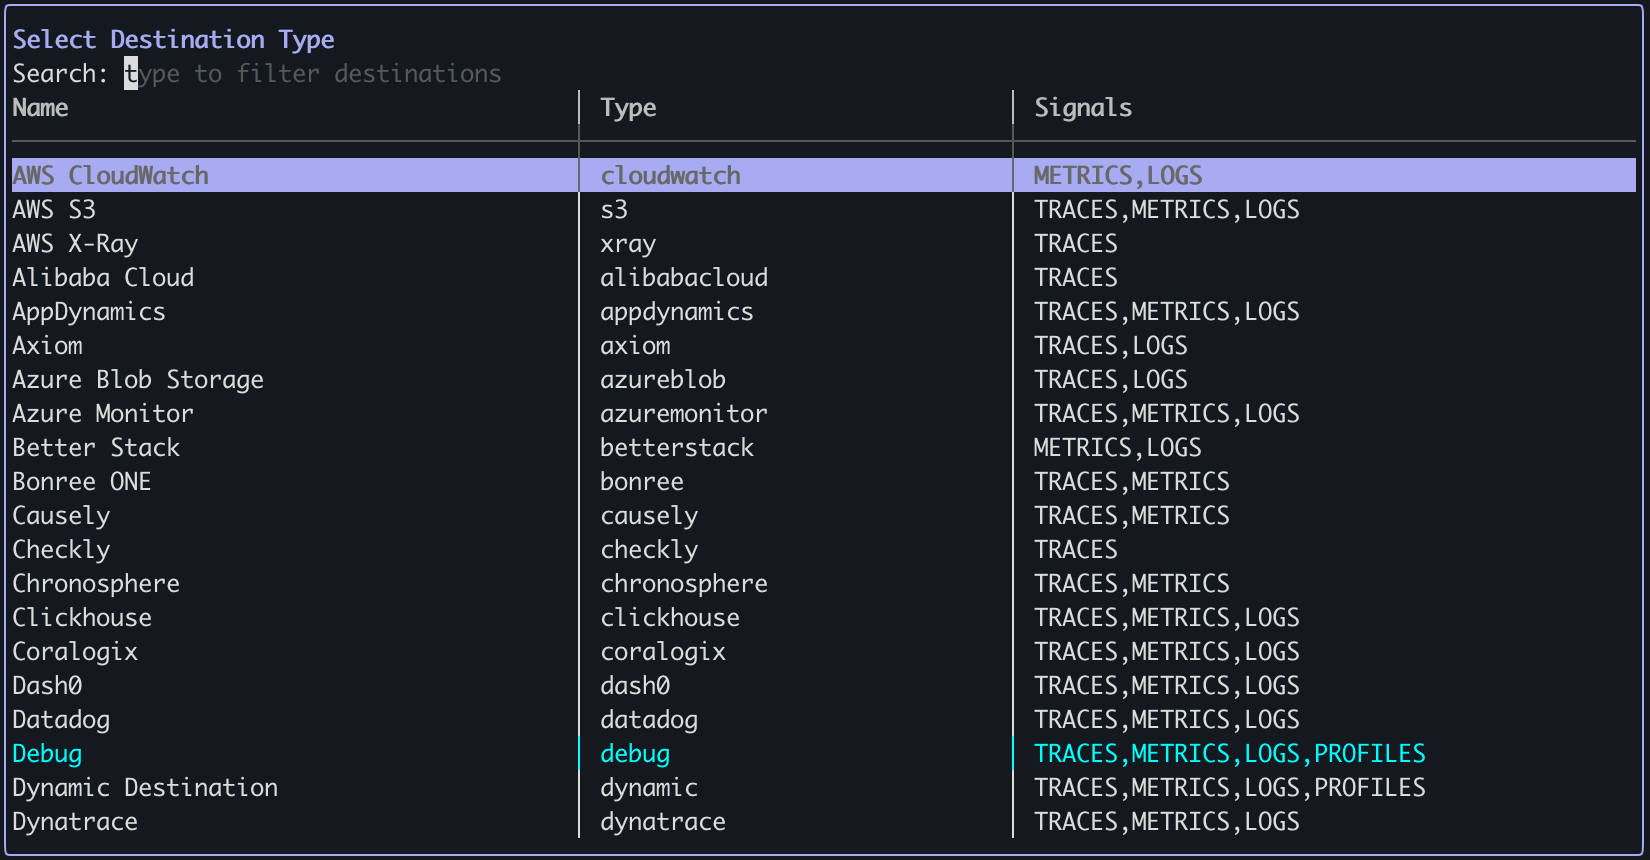
Select a destination
Type the name of the destination in the search bar at the top, and/or press Tab and scroll through the list
of destinations. Once your destination is highlighted, press Enter.
4
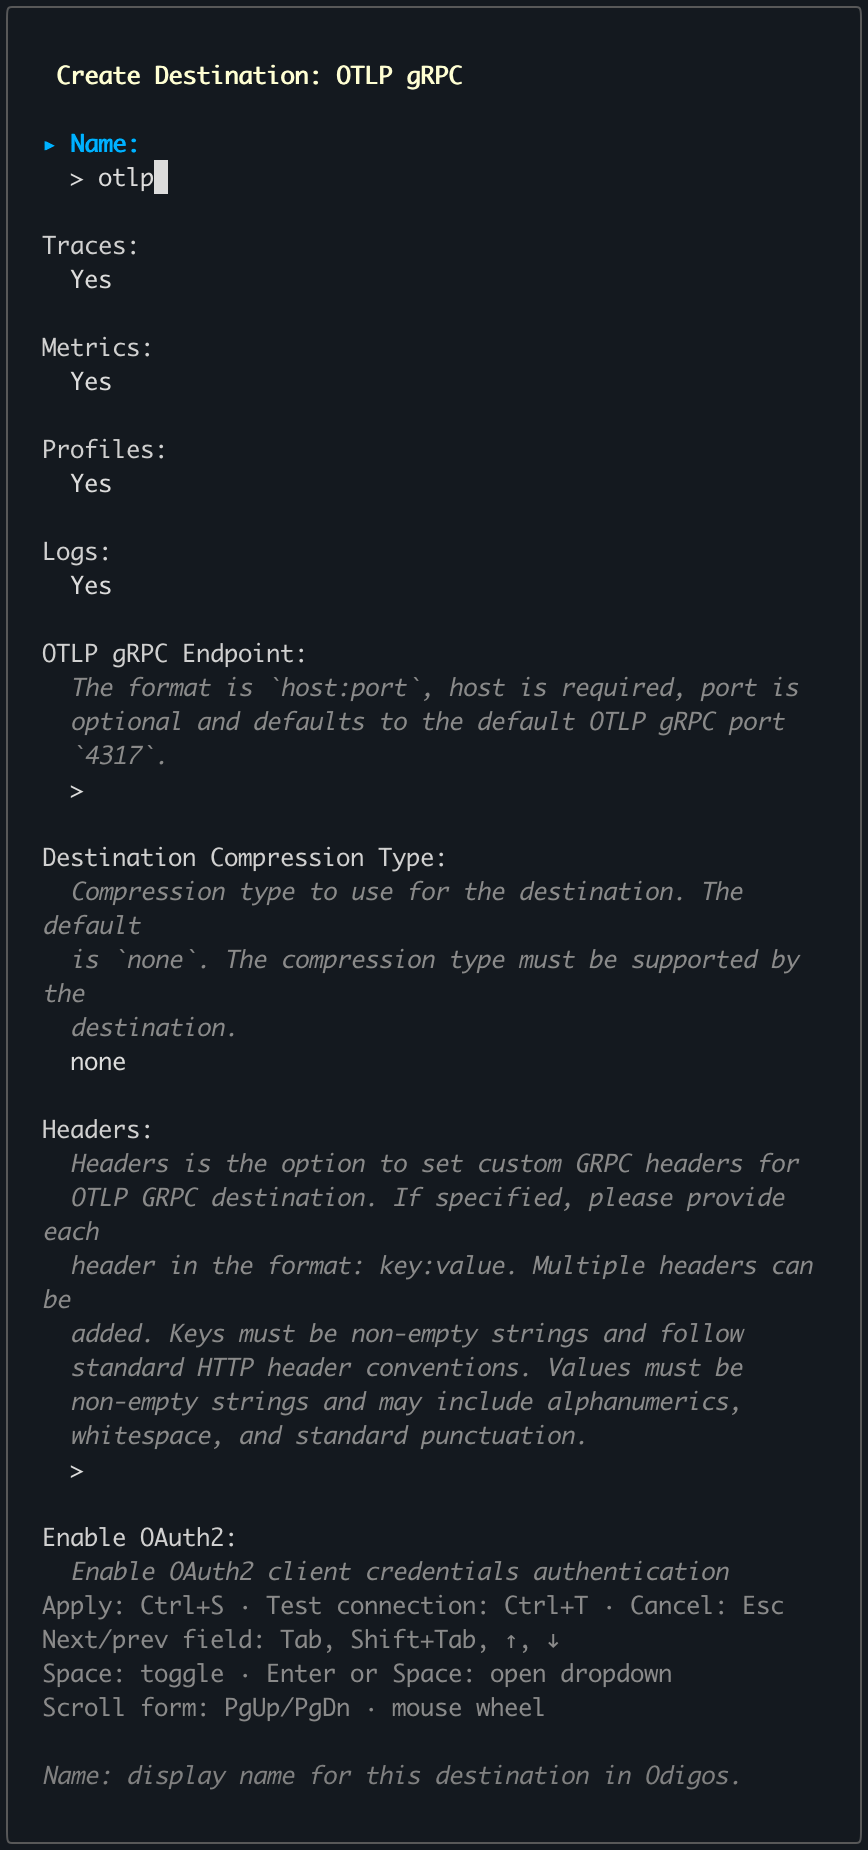
Configure destination
Set each field according to your destination type. See Destinations
for field details and requirements.